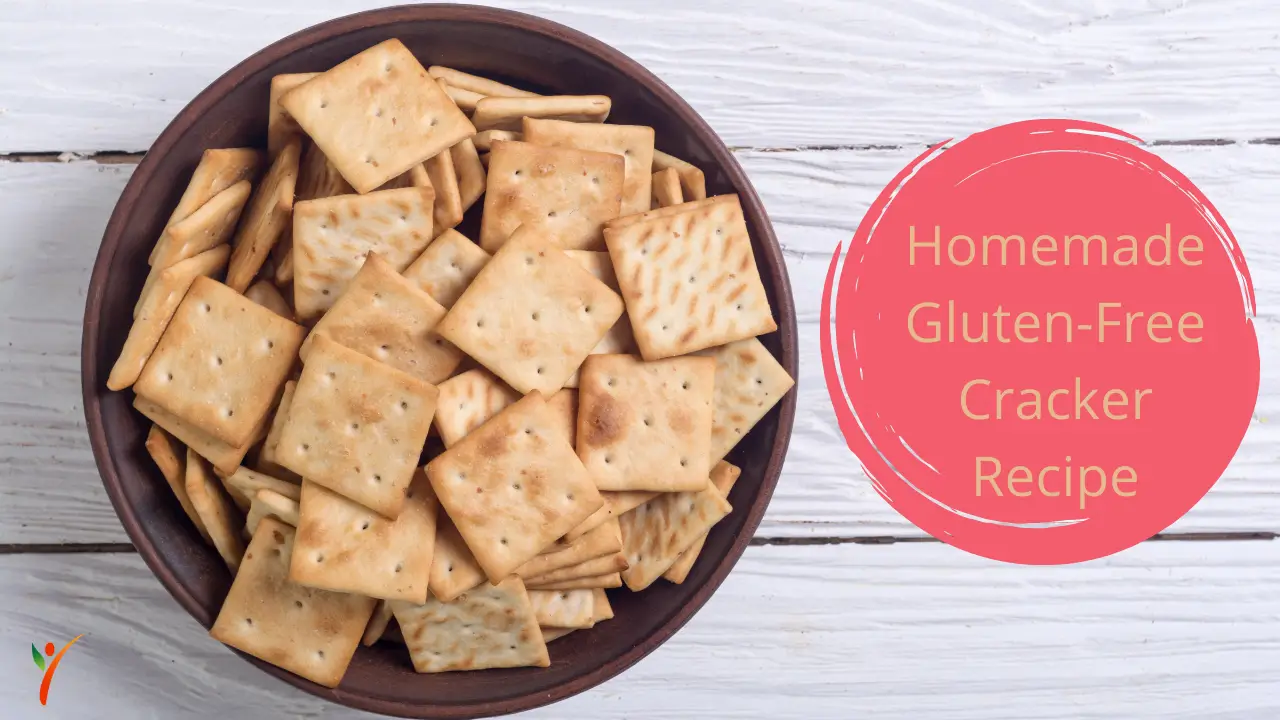
If you miss a good old serving of crackers with soup ever since you've gone gluten-free, it's understandable. Nothing beats a bowl of crackers as a side, or even to munch on when you're hungry.
If you're about to run to the store to grab store-bought gluten-free crackers, stop right there! You can easily make homemade crackers that are gluten-free, crispy, flaky, and downright delicious. You'll want to add this to your weekly snack meals once you know how to make them. Don't believe us? Try it out yourself!
Are Crackers Gluten-Free?
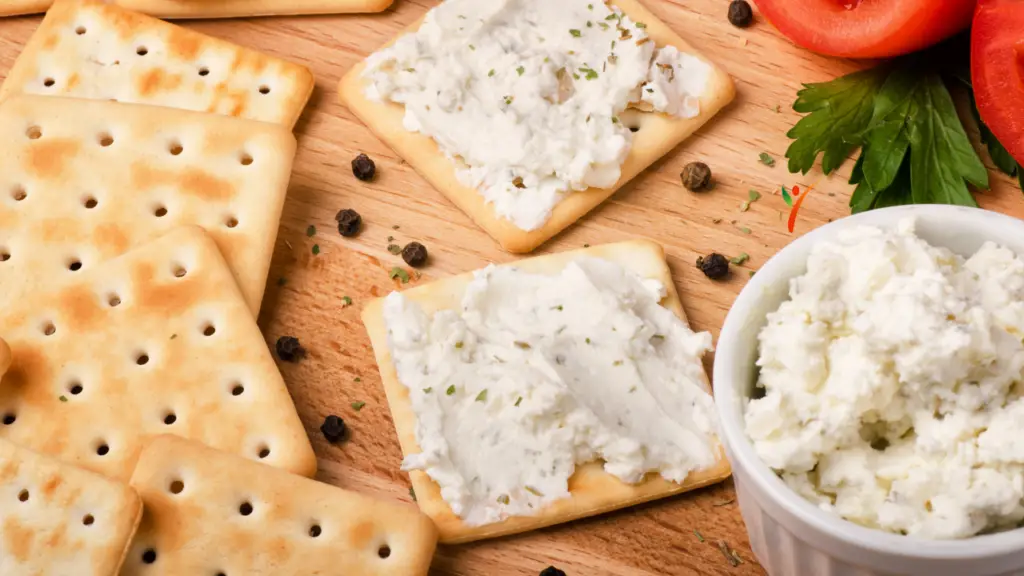
The answer to that question is that traditional crackers, made from wheat flour, will be another snack you'll avoid on a gluten-free diet. Our cracker recipe, on the other hand, makes use of a gluten-free flour blend. You'll be saying goodbye to all the gluten-containing ingredients possible in the crackers with this simple switch.
But that's not all. This recipe is also vegan-friendly. All you've to do is use vegan-free substitutes such as agave nectar instead of honey. That's the only ingredient that'll need switching around, and voila, the recipe is gluten AND vegan free!
Why is the Dough Crumbly?
The secret to crispy and flaky crackers is the perfect dough, not too sticky nor too crumbly. There is a wide range of gluten-free flour blends you can choose for baking. Some need a little extra water than the others. Add a little water, preferably ½ tablespoon at a time, until you see the dough coming together. Make sure you don't add too much at a time, or it'll result in a loose dough. Otherwise, you will end up with crackers that have no crispiness.
Roll Out The Dough Evenly
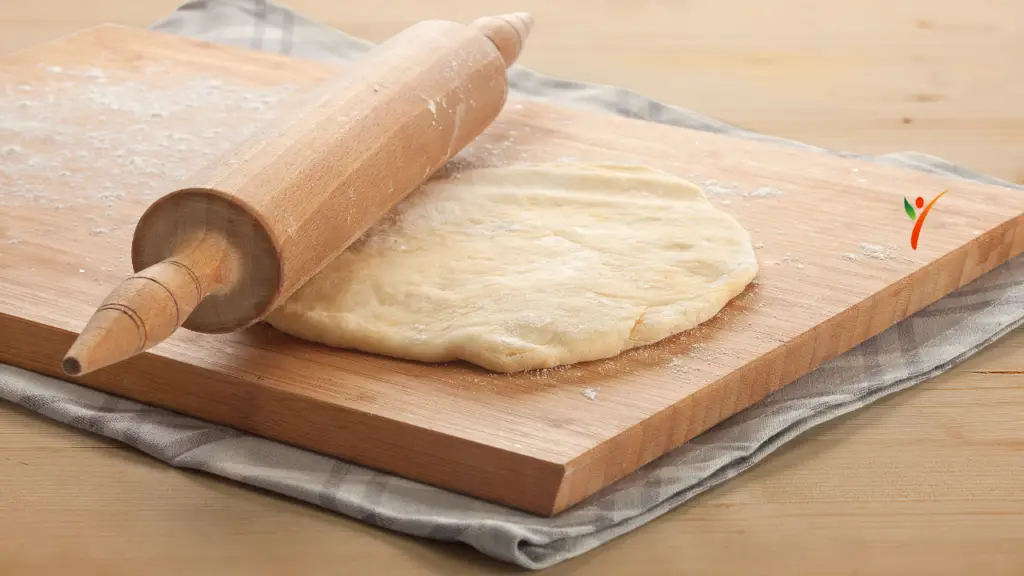
An amateur mistake when making crackers is rolling the dough unevenly. Ultimately, it'll result in overcooked edges when you bake them, while the thicker sides remain undone. To avoid burning your crackers, especially their corners, roll them out evenly. Simultaneously, if you want them crisp, the thinner you go, the crispier they'll turn out.
Use Firm Dough
Another additional tip is to put the crackers in the freezer for 10-15 minutes before baking. The process will firm them and ensure they don't break when you transfer them to the baking sheet. While baking them right away shortens the time duration, they're prone to breaking at this point. Of course, you can get rid of the problem by being extra careful when transferring them to the baking sheet. But make it simpler for yourself and cut out the extra work with a few minutes in the freezer.
Storing the Crackers
The question everyone will probably ask one point or another whenever they're making snacks, can you store them? Another advantage of crackers is that you can keep them for up to a week at room temperature. Grab an airtight container to maintain their crispiness and eat them within a week. Although, we're sure you'll have finished these crackers in a matter of days, if not hours. But it doesn't hurt to store some and grab them on the run or for your office lunch.
What to Eat with Crackers?
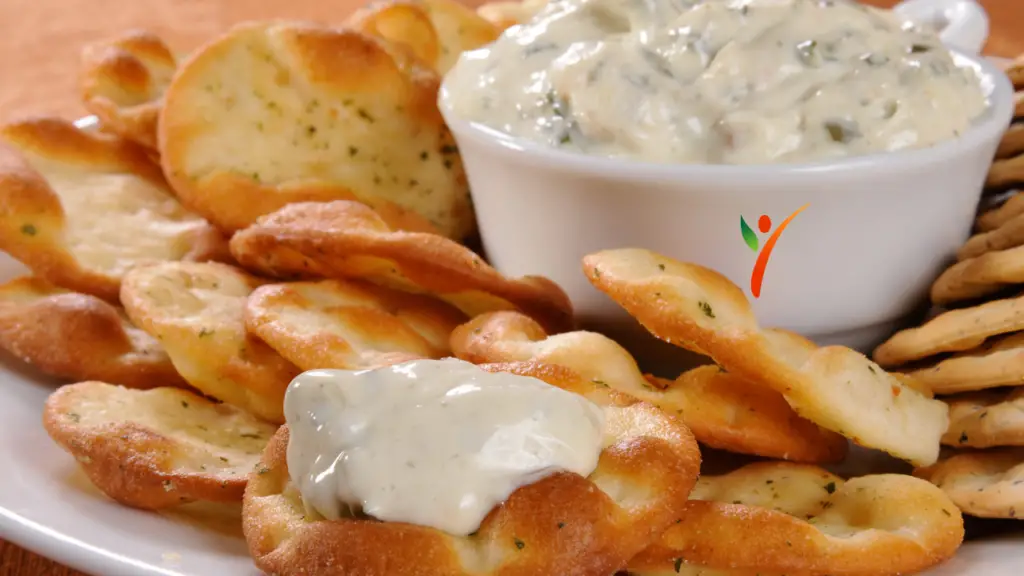
Crackers can accompany almost any dish as a side appetizer. On a contrasting side, you can always eat them on their own. When looking for some classic ideas to go with crackers- dips, hummus, soups, gravies, and chili will never go wrong.
Dip recipes take only a few minutes to make but bring that extra oomph of flavor to get your munch on. Hummus is another traditional option to layer on top of your crackers. Soups, gravies, and chili are good enough on their own, but who can say no to crispy crackers on the side? Maybe sprinkle them on a salad, or add cheese on the side to serve with the crackers.
Adding an Extra Touch
You can always go with plain crackers with just a touch of sea salt. But if you're in for something more, add a little extra to your recipe. Go in with a bit of extra touch; add herbs, rosemary, spices, sesame seeds, sunflower seeds, etc. These ingredients will undeniably add more aroma and flavor to your crackers.
Get Creative with the Shapes

While the traditional crackers call for square shapes, you don't always have to stick to the recipe. Cut them in triangles or circles, or use a cookie cutter for fun shapes; they're scrumptious in any form.
Do make sure you're cutting them evenly. You can even use shaping molds for this purpose and make your customized-shaped crackers. Another tip is to roll any leftover dough into smaller shapes. This way, you'll be wasting no dough and get a handful of amazing crackers for your snacks!
Make Parchment Paper Your Friend
Oh, the unlimited benefits of always keeping parchment paper in stock if you bake often. Similarly, you can't ignore the considerable advantages parchment paper will bring in making crackers. You can easily roll the dough out without it sticking to the surface and making a mess, for starters.
Secondly, it makes transferring the dough onto the baking sheet a breeze. No stickiness and a lesser chance of the dough breaking apart. What more do you need?
Don't Rush
Suppose you're thinking of serving the crackers straight out of the oven; that's another big don't! The time they need to cool after taking them out of the range makes all the difference.
Once again, if you serve them hot, they'll break and won't be crispy. A few minutes to cool down, and the crackers will be as crunchy and yummy as you can get. Also, don't rush the baking process. While it doesn't take too long to bake crackers, patience is always integral to getting the ideal taste and texture.
Summing It Up
Some things are just perfect any time of the day, and crackers are one on the list. If you've been avoiding crackers because they're not gluten-free, too expensive, or merely don't satisfy your tastebuds, try this recipe. It is packed with all the flavors and nutritiousness and doesn't get better than this. You'll even forget the traditional crackers made from wheat flour once you've had a bite of this goodness!
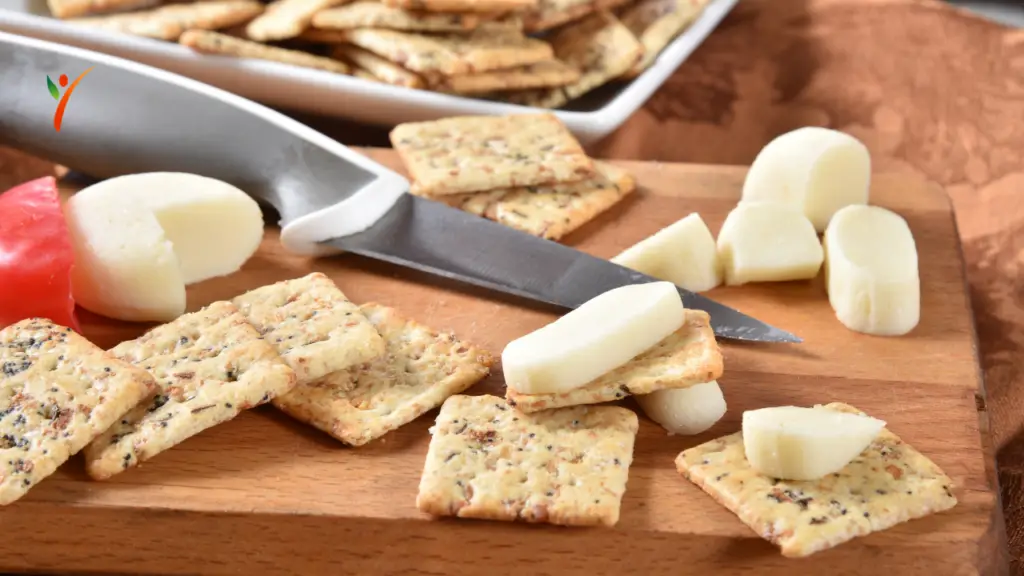
The Recipe
4 servings
30 minutes
Ingredients:
- 1 cup gluten-free flour blend
- ½ teaspoon of sea salt
- 1 tablespoon butter
- 1 teaspoon olive oil
- ½ teaspoon honey
- ¼ cup of water
Directions:
- Preheat oven at 400°.
- Grab a bowl and add the olive oil, butter, and honey to it. Mix it well. Then add the gluten-free flour blend and sea salt. Lastly, mix in the water. Add more if the dough is still crumbly.
- Stir the ingredients together until the dough takes the shape of a ball.
- Position the dough between two pieces of parchment paper. Grabbing your rolling pin, roll out the dough until it's around 1/8″ thickness.
- Remove the top parchment paper. Now cut the dough into approximately 1 1/2″ squares or the desired shape.
- Place the dough into a baking sheet with the bottom parchment paper intact and put it in the oven. Bake the crackers at 400° for around 15-20 minutes, or until crisp. Keep a close eye so that they don't burn. Rotate the sheet after 10 minutes.
- Let the crackers cool. Once completely cooled, break them apart. Top with your preferred toppings.
- Serve and enjoy!
Nutritional Information per Serving
- Calories- 131kcal
- Fats- 4g
- Carbohydrates- 22g
- Sodium- 313mg
- Sugar- 1g
- Protein- 3g
Easy Gluten-Free Homemade Crackers
Equipment
- Rolling Pin
- Baking Sheet
- Parchment Paper
Ingredients
- 1 Cup Gluten-Free Flour Blend
- 1/2 Tsp. Sea Salt
- 1 Tbsp. Butter (Or Vegan Butter)
- 1 Tsp. Olive Oil
- 1/2 Tsp. Honey
- 1/4 Cup Water
Instructions
- Preheat oven at 400°.
- Grab a bowl and add the olive oil, butter, and honey to it. Mix it well. Then add the gluten-free flour blend and sea salt. Lastly, mix in the water. Add more if the dough is still crumbly.
- Stir the ingredients together until the dough takes the shape of a ball.
- Position the dough between two pieces of parchment paper. Grabbing your rolling pin, roll out the dough until it's around 1/8" thickness.
- Remove the top parchment paper. Now cut the dough into approximately 1 1/2" squares or the desired shape.
- Place the dough into a baking sheet with the bottom parchment paper intact and put it in the oven. Bake the crackers at 400° for around 15-20 minutes, or until crisp. Keep a close eye so that they don't burn. Rotate the sheet after 10 minutes.
- Let the crackers cool. Once completely cooled, break them apart. Top with your preferred toppings.
- Serve and enjoy!

