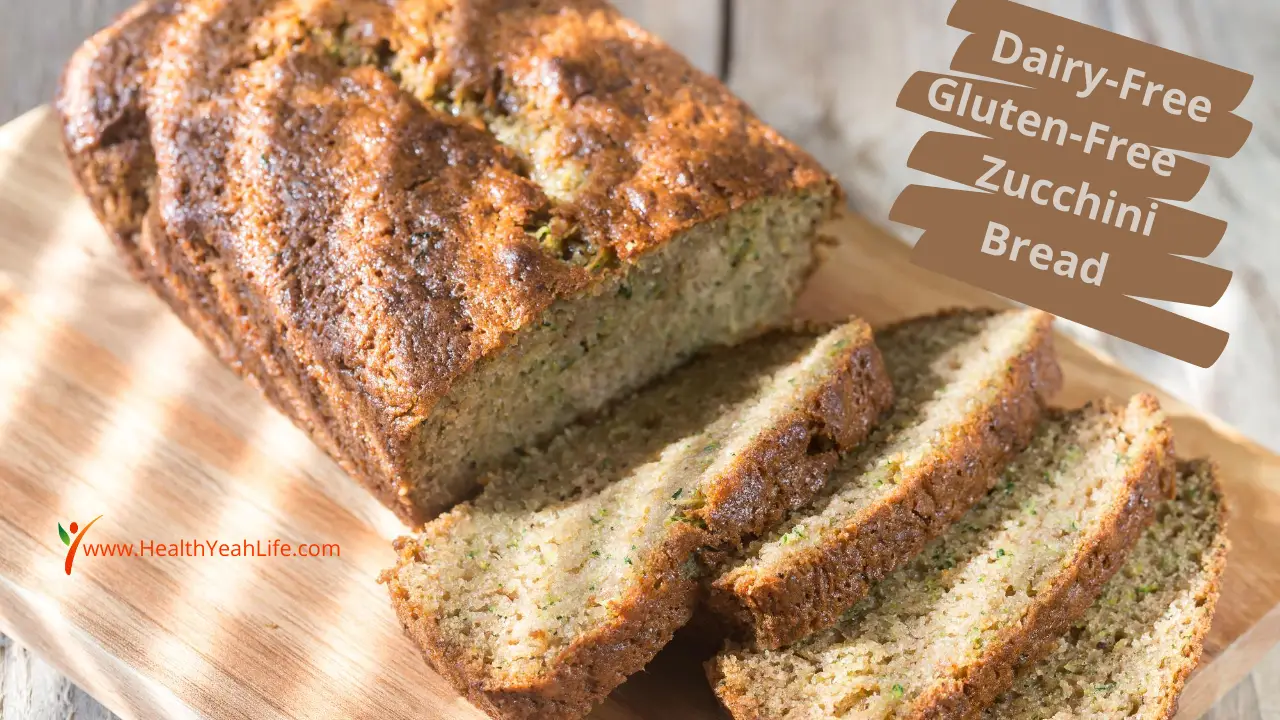
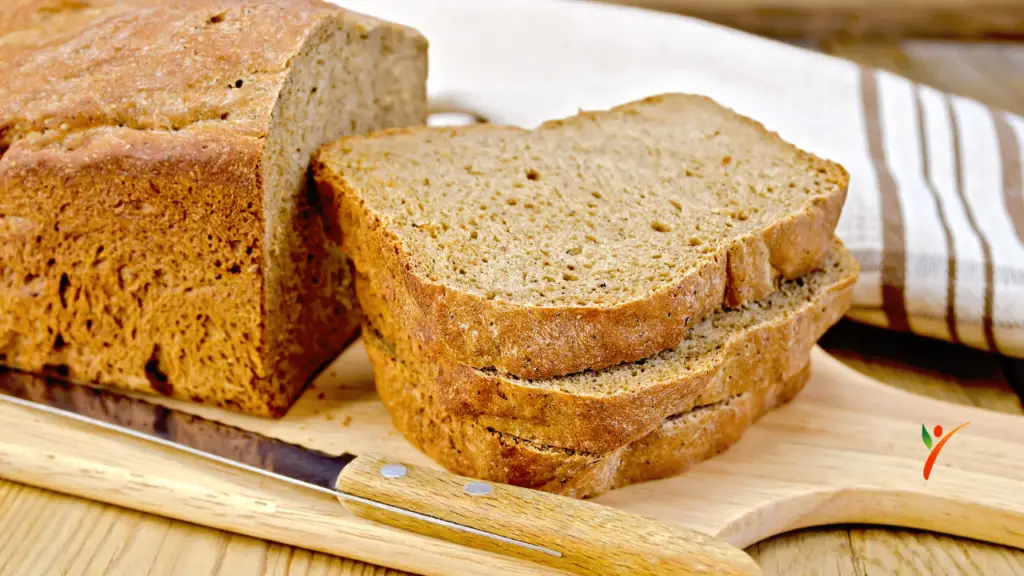
One of the main concerns when shifting to a gluten-free diet is baked goods, especially bread. Will gluten-free bread taste good? Will I be spending money every week on buying gluten-free bread loaves from the market? What if I'm craving a sandwich and there's no bread in the kitchen?
Questions like these will likely shuffle their way through your thoughts if you're new to the diet. Let us assure you, gluten-free life isn't as hard as people make it out to be. And you'll still be enjoying tasty bread in your breakfast and lunch meals. Here's an easy guide to making homemade gluten-free bread without too much trouble.

Substituting the Gluten-Free Flour Blend
This recipe uses Bob's Red Mill all-purpose flour to perfect the bread's texture and taste. Although you have used any other type of gluten-free flour before, you're bound to see differences in the texture. Not every gluten-free flour performs similarly. An additional tip- exclude the addition of xanthan gum if the blend already has it.
You can also substitute packaged gluten-free flour by making your flour blend. If you want to make your flour blend, mix white rice flour, almond flour, tapioca starch, and potato starch. Of course, you can always experiment with various gluten-free flour types and see what suits you best.
Don't Have Instant Yeast?
Instant yeast is a little more on the expensive side as compared to active dry yeast. Before you start worrying, you can always use active dry yeast in this recipe as well. You'll have to use 25% more of the active dry yeast to obtain similar results. Hence, add 2 ¼ teaspoons of active dry yeast to substitute the instant yeast.
Simultaneously, active dry yeast needs to be activated before you add it to the mixture. Add sugar and warm milk or water at approx. 95-110°F to the yeast and stir the mixture. Let it sit for around 5-10 minutes before adding to the dough mixture. Precaution- do not let the yeast sit for longer than 10 minutes!
Bread Machine Doesn't Have a Gluten-Free Setting?

If you're switching to the gluten-free life and are fond of homemade bread, get a bread machine. But what's the fix if you don't have one at your disposal for the time being?
Ordinary bread takes 2 mixing cycles in the machine, while gluten-free bread only needs 1. You can find the quick, express, or one-rise setting option on your device for this purpose. If you don't find one or you're still unclear, contact the manufacturer for further queries.
Significance of Measuring
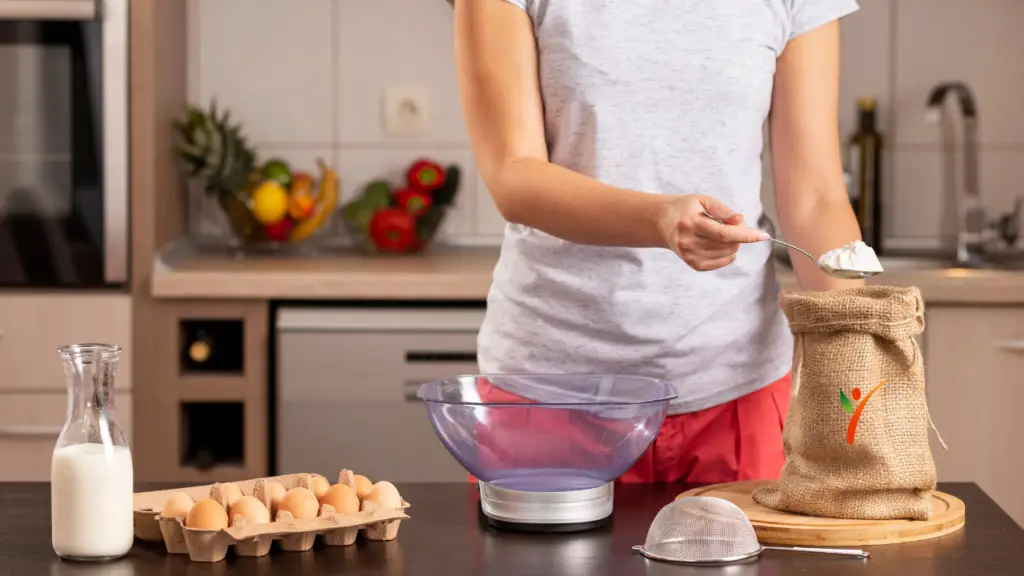
Homemade bread is where you'll realize the significance of using measuring equipment and leveling. If you're not using accurate measurements, you'll end up with more or less of the given ingredient. And in recipes such as bread, even a little extra flour or not enough yeast can easily wreak havoc—no need to end up with dense bread just because you didn't level it.
Making it Dairy-Free
Many people are also dairy-free, alongside eating gluten-free, making this recipe easily adaptable into a dairy AND gluten-free version is easy! All you've to do is switch butter and milk with dairy-free butter and plant-based milk. Earth Balance vegan buttery sticks and almond or cashew milk work great with this recipe.
Yeast Can become an Issue
Another mistake made by beginners is that they let their dough sit for a prolonged period. The issue with this will be a dough that has excessively risen and will collapse in the oven. For this purpose, proofing yeast for 5-10 minutes is more than enough.
Meanwhile, the duration to let the dough sit depends on the room temperature but typically lies around 30-50 minutes. Your dough shouldn't overflow the loaf pan. So, pay attention.
Keep it Refrigerated
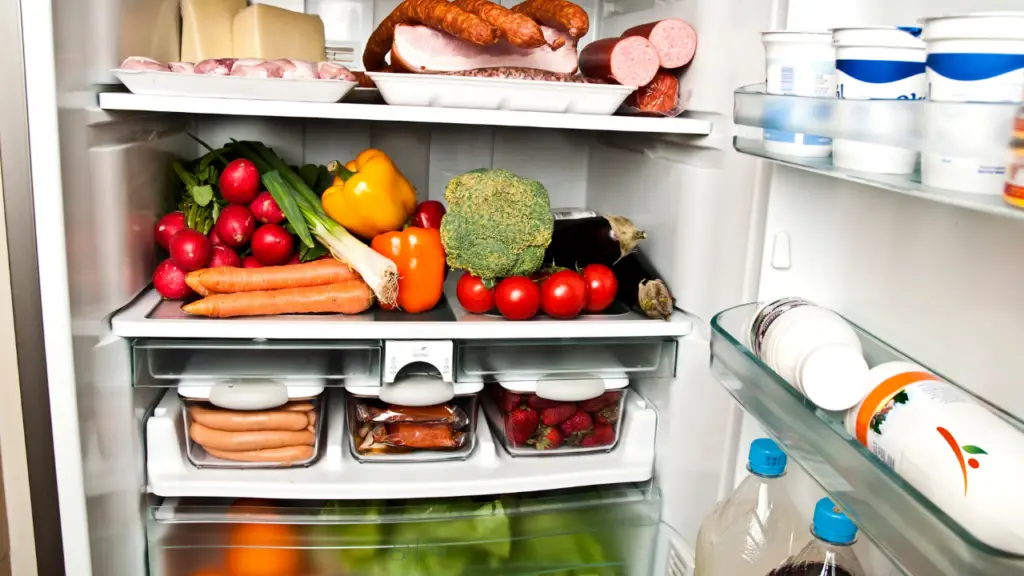
Suppose you're thinking of letting your gluten-free bread sit around on the kitchen counter after baking, don't! All you're doing is making the moisture leave the bread and ending up with dry, stale bread. Gluten-free bread is best when stored in slices in the freezer.
You can reheat it in the microwave whenever you want it. If you're not planning to keep it longer than 2-3 days, then refrigerating in an air-tight container works too. Just make sure it's not sitting around at room temperature as it will go bad quickly.
Room Temperature Flour is the Hack
Has your bread sunk in the oven once again, and you can't figure out where you're going wrong? Maybe it's because you're not using ingredients at room temperature. While the milk and butter should be slightly warmed but not hot, the flour can be problematic.
If you're taking your flour out of the refrigerator, let it sit for 20-30 minutes at room temperature before starting. Once it's at room temperature, start with the recipe, and voila, you've got delicious bread.
Don't Forget the Parchment Paper

Every little detail counts when you're baking bread in your kitchen. One of these includes lining the pan with parchment paper if you're oven-baking. You don't want your bread to stick to the pan at the bottom, so grab the parchment paper. This simple key will guarantee bread that slides off easily once you take it out from the oven.
Give Your Arms a Rest
As long as there's xanthan gum in your ingredients, separately or in the flour blend, you don't have to knead. Yes, the traditional bread requires you to knead it for elasticity. However, since gluten-free bread gets its elasticity from xanthan gum, all you've to do is mix the ingredients.
Conclusion
Perfecting bread that's slightly crispy on the outside and soft on the inside might seem like a chore. After you try this recipe, you'll be wondering why you didn't come across it sooner. Give your wallet a break and bake a homemade bread loaf that tastes way better than store-bought versions!
The Recipe
9 x 5″ loaf
1 hour 30 minutes
Ingredients:
- 1 ½ cups warm milk
- 1/4 cup unsalted butter
- 2 eggs
- 1 teaspoon salt
- 1 teaspoon apple cider vinegar
- 2 tablespoons sugar
- 3 cups all-purpose gluten-free flour blend
- 1 ¾ teaspoon instant yeast
- 1 ½ teaspoons xanthan gum
Directions:
For Bread Machine
- Warm up the milk and butter and combine them.
- Add all the wet ingredients, i.e., milk, butter, eggs, and apple cider vinegar, to the pan of your bread machine.
- Now add the dry ingredients. Add flour, salt, xanthan gum, and sugar to the pan.
- Create a small hole with your finger in the center of the flour. Add yeast to this hole.
- Set the machine to a gluten-free setting and start it.
- Your bread machine will take care of the rest. Once done, let the bread cool before slicing.
- Serve and enjoy!
For the Oven
- Grab a loaf pan, line with parchment paper, and grease.
- Add flour, sugar, xanthan gum, and salt to a mixer and let it mix until thoroughly combined.
- Next up, add warmed butter and milk, eggs, and apple cider vinegar. Let it mix on low speed for a few minutes.
- Lastly, add the instant yeast and let it mix for 2 minutes on medium heat.
- Transfer the dough to your loaf pan. Cover the corners and level the top with your fingers.
- Cover the top of the pan with a plastic wrap. Letting it rest for 30-40 minutes, or until the dough has risen to around double its original size.
- Preheat the oven to 350°F.
- Remove the plastic wrap, then place the loaf pan in the oven and bake for 55-65 minutes. You may wish to cover the pan with aluminum foil for half the baking time to prevent the loaf from excessive browning.
- Remove pan from the oven. Let the loaf cool before slicing.
- Serve and enjoy!
The owner of this website, HealthYeahLife.com, is a participant in the Amazon Services LLC Associates Program, an affiliate advertising program designed to provide a means for sites to earn advertising fees by advertising and linking HealthYeahLife.com Review to Amazon properties including, but not limited to, amazon.com.
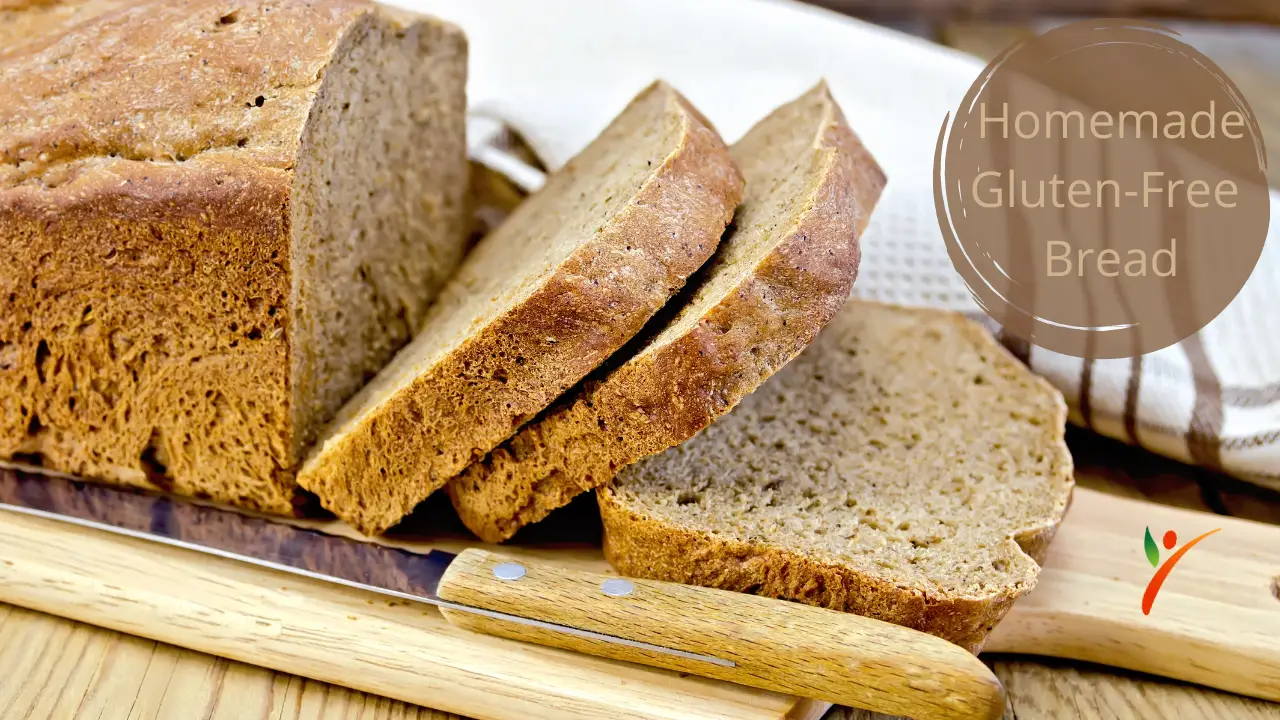
Delicious Gluten-Free Bread Recipe for the Oven or Bread Machine
Ingredients
- 1 1/2 Cups Milk Warm
- 1/4 Cup Unsalted Butter
- 2 Eggs
- 1 Tsp. Salt
- 1 Tsp. Apple Cider Vinegar
- 2 Tbsp. Sugar
- 3 Cups All purpose gluten-free flour blend
- 1 3/4 Tsp. Instant Yeast
- 1 1/2 Tsp. Xanthan Gum (if not included in flour blend)
Instructions
For a Bread Machine
- Warm up the milk and butter and combine them.
- Add all the wet ingredients, i.e., milk, butter, eggs, and apple cider vinegar, to the pan of your bread machine.
- Now add the dry ingredients. Add flour, salt, xanthan gum, and sugar to the pan.
- Create a small hole with your finger in the center of the flour. Add yeast to this hole.
- Set the machine to a gluten-free setting and start it.
- Your bread machine will take care of the rest. Once done, let the bread cool before slicing.
- Serve and enjoy!
For the Oven
- Grab a loaf pan, line with parchment paper, and grease.
- Add flour, sugar, xanthan gum, and salt to a mixer and let it mix until thoroughly combined.
- Next up, add warmed butter and milk, eggs, and apple cider vinegar. Let it mix on low speed for a few minutes.
- Lastly, add the instant yeast and let it mix for 2 minutes on medium heat.
- Transfer the dough to your loaf pan. Cover the corners and level the top with your fingers.
- Cover the top of the pan with a plastic wrap. Letting it rest for 30-40 minutes, or until the dough has risen to around double its original size.
- Preheat the oven to 350°F.
- Remove the plastic wrap, then place the loaf pan in the oven and bake for 55-65 minutes. You may wish to cover the pan with aluminum foil for half the baking time to prevent the loaf from excessive browning.
- Remove pan from the oven. Let the loaf cool before slicing.
- Serve and enjoy!
She is passionate about helping others understand their body.
The key to figuring out why you feel the way you feel is to take a more significant look at what is going on inside you & even around you, and then ask questions!
She is excited to help & support you on your journey of optimal health and wellness!